- RuleMaximum Life + maximum Energy Shield + maximum Runic Ward. Maximum Mana is also added when the Mind Over Matter keystone is active.
Act 2
Trial of the Sekhemas
The Trial of the Sekhemas is one of three Ascension Trials, first accessible in Act 2. It is a randomized gauntlet of rooms filled with monsters, traps, and bosses that can damage and reduce a player's Honour, a survival resource that will end the trial run if depleted. While navigating each trial floor, players are affected by Boons and Afflictions that affect the run's difficulty and can interact with a variety of mechanics when completing each room to improve or change their odds. The trial is based on the Forbidden Sanctum from Path of Exile 1.- Area level
- 22 XP range Item level
- Act
- 2
- Waypoint
- Yes
- Internal variants
- 1
Route finderStart here · Route to this area
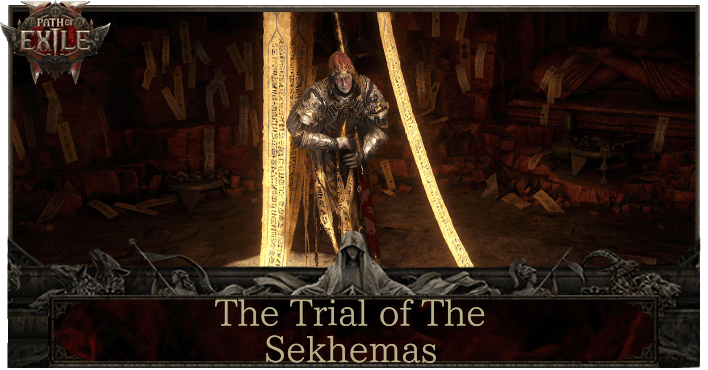
Trial of the SekhemasProtect Honour, choose a route through each floor, use Relics and Sacred Water, then defeat the floor boss.Open the step-by-step guide
How to enter
2 Baryas
First campaign runBalbala's Barya
Defeat Balbala, the Traitor in Traitor's Passage, then follow Ascent to Power. This quest Barya opens a one-floor, area level 22 trial.

Repeat and later Ascendancy runsDjinn Barya
The item level determines how many floors the trial records. Read the tooltip before starting because it also states whether the run can award additional Ascendancy points.
Floors and Ascendancy points
4 tiers| Key area level | Floors | Final boss | Eligible result |
|---|---|---|---|
| 22 campaign, or 24 to 44 | 1 | Rattlecage, the Earthbreaker | Can raise the character to 2 total Ascendancy points |
| 45 to 59 | 2 | Hadi and Rafiq | Can raise the character to 4 total Ascendancy points |
| 60 to 74 | 3 | Ashar, the Sand Mother | Can raise the character to 6 total Ascendancy points |
| 75 to 80 | 4 | Zarokh, the Temporal | Can raise the character to 8 total Ascendancy points |
The Barya tooltip is decisive. Start the run only when it says completion can grant additional Ascendancy points to that character.
How Honour works
6 rules- RuleReduces Honour loss. Its default maximum is 75%; increases to maximum Honour Resistance cannot take it above 90%.
- RuleDamage from nearby enemies causes up to 35% less Honour loss.
- RuleHonour persists between rooms. Reaching zero fails the trial even if the character is still alive.
- RuleRestore Honour through merchants, Maraketh Shrines, fountains, and certain Boons.
- RuleThe party shares Honour. The instance owner chooses rooms and reward decisions.
Open the complete Honour formula, mitigation, recovery, and trial party rules General party scaling and loot rules
Room objectives
6Escape
Disable every Death Crystal before the timer expires. Each crystal points toward the next and adds time.
Ritual
Defeat the Ritual Casters beside each portal to stop the summoned enemies and clear the room.
Chalice
Activate the chalice, follow its directions, defeat every marked rare monster, and return.
Gauntlet
Use levers to open doors, read trap timing, and reach the exit.
Hourglass
Survive until the timer expires. Defeating rare monsters reduces the remaining time.
Boss
Defeat the fixed floor boss. The active Honour, Boons, Afflictions, and Sacred Water carry into the fight.
Room rewards and Sacred Water
6Merchant
Balbala, the Released sells Boons and Relics and can restore Honour in exchange for Sacred Water.
Sacred Water Fountain
Adds Sacred Water, the run-only resource used by merchants, shrines, pledges, and the Keth Forge.
Maraketh Shrine
Spend Sacred Water for Honour recovery and a shrine-specific combination of Boons, Afflictions, or cleansing.
Pledge
Spend 5 Sacred Water and choose one of three offered effects.
Cache
Open Bronze, Silver, or Golden Caches with the matching trial key.
Key
Collect Bronze, Silver, and Gold Keys from room rewards, monsters, chests, or Sacred Water conversion.
Maraketh Shrine outcomes
4| Shrine | Cost | Outcome |
|---|---|---|
| Honour Tabina | 5 Sacred Water | Restore 10% of your Honour. |
| Honour Balbala | 5 Sacred Water | Restore 10% of your Honour and gain a random Boon. |
| Honour Ahkeli | 5 Sacred Water | Restore 25% of your Honour and gain a random Minor Affliction. |
| Honour Galai | 5 Sacred Water | Restore 50% of your Honour before increases, gain a random Boon, and cleanse a random Affliction. |
All Pledge trades
12| Pledge | You gain | You give up |
|---|---|---|
 Choice 1 Choice 1 | Gain a specific Minor Boon | Lose 25% Maximum Honour |
 Choice 2 Choice 2 | Gain a random Major Boon | Lose 50% Maximum Honour |
 Choice 3 Choice 3 | Gain 2 random Minor Boons | Lose 50% Maximum Honour |
 Choice 4 Choice 4 | Gain a specific Minor Boon | Gain a specific Minor Affliction |
 Choice 5 Choice 5 | Lose a specific Minor Boon | Lose a specific Minor Affliction |
 Choice 6 Choice 6 | Gain a specific Minor Boon | Gain a random Minor Affliction |
 Choice 7 Choice 7 | Lose a specific Minor Affliction | Gain a random Minor Affliction |
 Choice 8 Choice 8 | Gain a random Minor Boon | Gain a random Minor Affliction |
 Choice 9 Choice 9 | Lose a random Minor Affliction | Lose a random Minor Boon |
 Choice 10 Choice 10 | Gain 3 random Minor Boons | Gain a specific Major Affliction |
 Choice 11 Choice 11 | Lose 3 random Minor Afflictions | Gain a random Major Affliction |
 Choice 12 Choice 12 | Gain a random Major Boon | Lose 3 random Minor Boons |
A Pledge costs 5 Sacred Water. Compare its specific gain and loss before confirming it.
All Boons and Afflictions
Search exact effects before choosing a room, Merchant purchase, Shrine, or Pledge.
Boons
36 of 36| Name | Type | Effect | Merchant cost |
|---|---|---|---|
 Ahkeli's Guard Ahkeli's Guard | Major Boon | You cannot be Damaged for 1 second after taking Damage from an Enemy Hit | Not listed |
 All-Seeing Eye All-Seeing Eye | Major Boon | The Trial Map is fully revealed Note: This overrides the Black, Golden, and Red Smoke afflictions. | 300-600 |
 Crystal Shard Crystal Shard | Major Boon | The next Affliction you gain is converted into a random Minor Boon | Not listed |
 Dekhara's Necklace Dekhara's Necklace | Major Boon | You cannot receive any more Minor Afflictions | Not listed |
 Earned Honour Earned Honour | Major Boon | Restore # of your Honour on room completion Note: This also restores all Life and Mana on room completion. | 600 |
 Garukhan's Favour Garukhan's Favour | Major Boon | Ignore the first Damage taken from an Enemy Hit in each Room (note: this stacks between rooms) | Not listed |
 Holy Water Holy Water | Major Boon | Gain a random Minor Boon when you venerate a Maraketh Shrine | Not listed |
 Imperial Seal Imperial Seal | Major Boon | Traps are Disabled (NOTE: Not all traps are disabled, including some floor traps on Floor 3 and the portal traps on Floor 4) | 600 |
 Orbala's Leathers Orbala's Leathers | Major Boon | Upon reaching 0 Honour, revive once with 50% less Honour | Not listed |
 Raincaller Raincaller | Major Boon | Sacred Water found is doubled | Not listed |
 Reparations Reparations | Major Boon | Gain 2 Sacred Water when you take Damage from an Enemy Hit | Not listed |
 Sekhema's Cloak Sekhema's Cloak | Major Boon | Upon reaching 0 Life, revive once with Full Honour | Not listed |
 Adrenaline Vial Adrenaline Vial | Minor Boon | Restore 30% of your Honour on entering a Boss Room | 220-320 |
 Assassin's Blade Assassin's Blade | Minor Boon | The next 10 non-Boss Monsters you Hit are killed instantly | 220-420 |
 Balbala's Gift Balbala's Gift | Minor Boon | Your next purchase from the Merchant has no cost | 280-320 |
 Black Pearl Black Pearl | Minor Boon | Traps deal 50% less damage | 280-320 |
 Diverted River Diverted River | Minor Boon | Sacred Water found on this floor is doubled | 220-360 |
 Enchanted Urn Enchanted Urn | Minor Boon | 30% increased Effect of your Non-Unique Relics | 220 |
 Flooding Rivers Flooding Rivers | Minor Boon | 50% more Sacred Water found | 220-420 |
 Fountain of Youth Fountain of Youth | Minor Boon | Restore #(2.5%?) of your Honour when you venerate a Maraketh Shrine | 280-420 |
 Fright Mask Fright Mask | Minor Boon | Monsters deal 20% less damage | 220-320 |
 Glowing Orb Glowing Orb | Minor Boon | The next time you go below 20% of Maximum Life, restore all Life, Energy Shield and 50% of Honour | 160-420 |
 Hare Foot Hare Foot | Minor Boon | 40% increased Movement Speed | 320 |
 Honoured Challenger Honoured Challenger | Minor Boon | 50% increased Honour restored | 220-420 |
 Lustrous Lacquer Lustrous Lacquer | Minor Boon | You have 50% more Defences | 220-360 |
 Lustrous Pearl Lustrous Pearl | Minor Boon | Traps are slower | 280-360 |
 Mirror of Fortune Mirror of Fortune | Minor Boon | The next Key you pick up is duplicated | 360 |
 Moment's Peace Moment's Peace | Minor Boon | You cannot be Damaged until you complete the next room | 220-320 |
 Orbala Statuette Orbala Statuette | Minor Boon | You have 25% more Maximum Life | 280-360 |
 Ornate Dagger Ornate Dagger | Minor Boon | You and your minions deal 50% more Damage | 220-360 |
 Sanguine Vial Sanguine Vial | Minor Boon | Monsters have 30% less Maximum Life | 220-420 |
 Silver Chalice Silver Chalice | Minor Boon | The next Minor Boon you gain is converted into a random Major Boon | Not listed |
 Silver Tongue Silver Tongue | Minor Boon | 50% reduced Merchant prices | 280-320 |
 Scrying Crystal Scrying Crystal | Minor Boon | You can see an additional room ahead on the Trial Map | 280-420 |
 Upward Path Upward Path | Minor Boon | Your Sacred Water found is increased by 10% on room completion (removed when you purchase something from the Merchant) | 280 |
 Viscous Ichor Viscous Ichor | Minor Boon | Monsters have 15% reduced Action Speed | 220-360 |
Afflictions
42 of 42| Name | Type | Effect | Merchant cost |
|---|---|---|---|
 Branded Balbalakh Branded Balbalakh | Major Affliction | Cannot restore Honour | Not applicable |
 Corrosive Concoction Corrosive Concoction | Major Affliction | You have no defences | Not applicable |
 Deadly Snare Deadly Snare | Major Affliction | Traps deal Triple Damage | Not applicable |
 Death Toll Death Toll | Major Affliction | Take # Physical Damage after completing 8 rooms (Note: this affliction is removed after it activates) | Not applicable |
 Ghastly Scythe Ghastly Scythe | Major Affliction | Losing Honour ends the Trial (removed after 3 rooms) | Not applicable |
 Glass Shard Glass Shard | Major Affliction | The next Boon you gain is converted into a random Minor Affliction | Not applicable |
 Orb of Negation Orb of Negation | Major Affliction | Non-Unique Relics have no Effect | Not applicable |
 Unassuming Brick Unassuming Brick | Major Affliction | You cannot gain any more Boons | Not applicable |
 Unquenched Thirst Unquenched Thirst | Major Affliction | You cannot gain Sacred Water | Not applicable |
 Veiled Sight Veiled Sight | Major Affliction | Rooms are unknown on the Trial Map | Not applicable |
 Black Smoke Black Smoke | Minor Affliction | You can see one fewer room ahead on the Trial Map | Not applicable |
 Blunt Sword Blunt Sword | Minor Affliction | You and your Minions deal 40% less Damage | Not applicable |
 Chains of Binding Chains of Binding | Minor Affliction | Monsters inflict Binding Chains on hit | Not applicable |
 Chiselled Stone Chiselled Stone | Minor Affliction | Monsters Petrify on Hit | Not applicable |
 Costly Aid Costly Aid | Minor Affliction | Gain a random Minor Affliction when you venerate a Maraketh Shrine | Not applicable |
 Dark Pit Dark Pit | Minor Affliction | Traps deal 100% increased Damage | Not applicable |
 Deceptive Mirror Deceptive Mirror | Minor Affliction | You are not always taken to the room you select | Not applicable |
 Dishonoured Tattoo Dishonoured Tattoo | Minor Affliction | 100% increased Damage Taken while on Low Life | Not applicable |
 Fiendish Wings Fiendish Wings | Minor Affliction | Monsters' Action Speed cannot be slowed below base Monsters have 25% increased Attack, Cast, and Movement speed | Not applicable |
 Forgotten Traditions Forgotten Traditions | Minor Affliction | 50% reduced Effect of your Non-Unique Relics | Not applicable |
 Golden Smoke Golden Smoke | Minor Affliction | Rewards are unknown on the Trial Map | Not applicable |
 Haemorrhage Haemorrhage | Minor Affliction | You cannot restore Honour (removed after killing the next Boss) | Not applicable |
 Honed Claws Honed Claws | Minor Affliction | Monsters deal 30% more Damage | Not applicable |
 Hungry Fangs Hungry Fangs | Minor Affliction | Monsters remove 3% of your Life, Mana, and Energy Shield on Hit | Not applicable |
 Iron Manacles Iron Manacles | Minor Affliction | You have no Evasion | Not applicable |
 Leaking Waterskin Leaking Waterskin | Minor Affliction | Lose 20 Sacred Water when you take Damage from an Enemy Hit | Not applicable |
 Low Rivers Low Rivers | Minor Affliction | 50% less Sacred Water found | Not applicable |
 Purple Smoke Purple Smoke | Minor Affliction | Afflictions are unknown on the Trial Map | Not applicable |
 Rapid Quicksand Rapid Quicksand | Minor Affliction | Traps are faster | Not applicable |
 Red Smoke Red Smoke | Minor Affliction | Room types are unknown on the Trial Map | Not applicable |
 Sharpened Arrowhead Sharpened Arrowhead | Minor Affliction | You have no Armour | Not applicable |
 Shattered Shield Shattered Shield | Minor Affliction | You have 50% less Energy Shield | Not applicable |
 Spiked Exit Spiked Exit | Minor Affliction | Take 25 Physical Damage upon Room Completion | Not applicable |
 Spiked Shell Spiked Shell | Minor Affliction | Monsters have 50% increased Maximum Life | Not applicable |
 Suspected Sympathiser Suspected Sympathiser | Minor Affliction | 50% reduced Honour restored | Not applicable |
 Tattered Blindfold Tattered Blindfold | Minor Affliction | 90% reduced Light Radius Minimap is hidden | Not applicable |
 Trade Tariff Trade Tariff | Minor Affliction | 50% increased Merchant prices | Not applicable |
 Tradition's Demand Tradition's Demand | Minor Affliction | The Merchant only offers one choice | Not applicable |
 Untouchable Untouchable | Minor Affliction | You are Cursed with Enfeeble | Not applicable |
 Weakened Flesh Weakened Flesh | Minor Affliction | 25% less Maximum Honour | Not applicable |
 Winter Drought Winter Drought | Minor Affliction | Lose all Sacred Water on floor completion | Not applicable |
 Worn Sandals Worn Sandals | Minor Affliction | 30% less Movement Speed if you've been Hit by an Enemy Recently | Not applicable |
Open the canonical Boons and Afflictions mechanic page
Trial cache keys
3Relic bases
7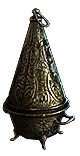
Relic baseUrn Relic
Urn Relic is a normal relic base item.
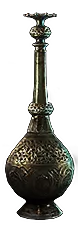
Relic baseAmphora Relic
Amphora Relic is a normal relic base item.
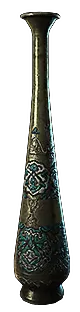
Relic baseVase Relic
Vase Relic is a normal relic base item.
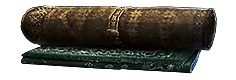
Relic baseTapestry Relic
Tapestry Relic is a normal relic base item.
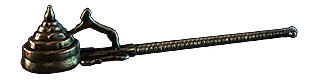
Relic baseIncense Relic
Incense Relic is a normal relic base item.
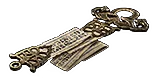
Relic baseSeal Relic
Seal Relic is a normal relic base item.
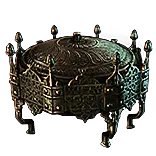
Relic baseCoffer Relic
Coffer Relic is a normal relic base item.
The Relic Altar has 18 spaces. Twelve spaces unlock by completing earlier floors, and equipped Relics cannot be changed after the run starts. Open all Relic rules and challenge runs.
Floor bosses
4 encounters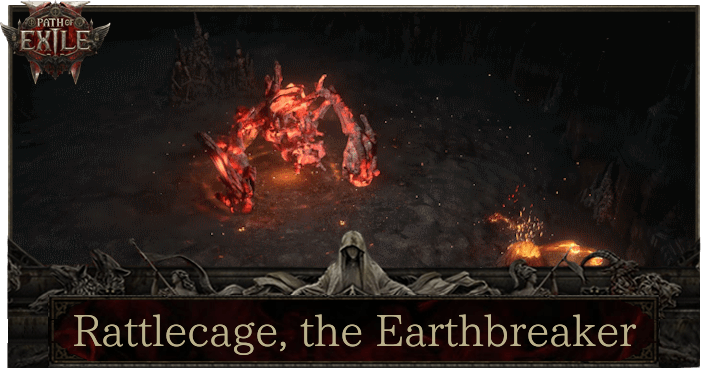
Floor 1: Rattlecage, the Earthbreaker
Rattlecage deals physical and fire damage. Space around its magma fissures and delayed eruptions instead of committing to long stationary attacks.
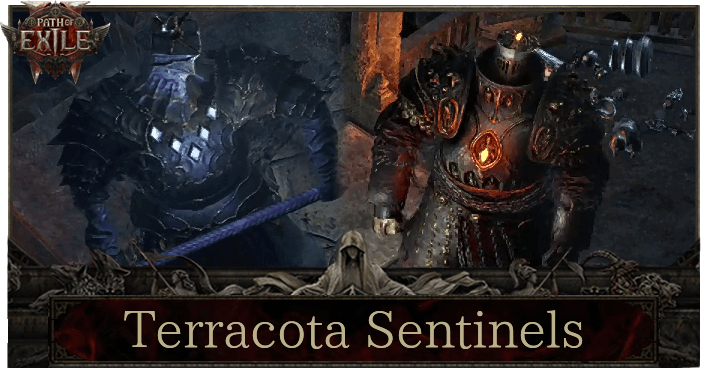
Floor 2: Hadi and Rafiq
Hadi and Rafiq are fought together. Killing either Sentinel first restores and empowers the survivor, so plan the kill order around the damage type your build handles better.
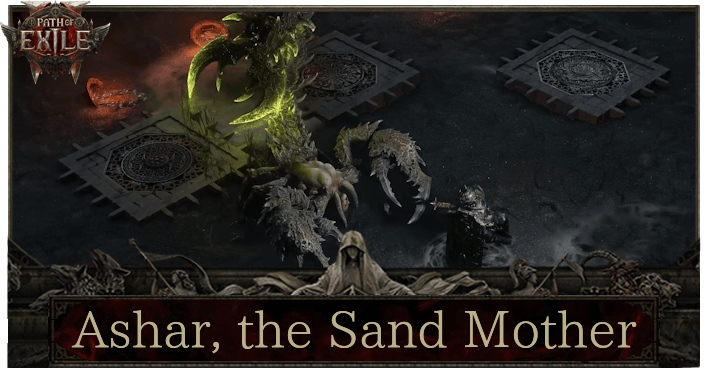
Floor 3: Ashar, the Sand Mother
Ashar deals physical and chaos damage. Avoid pressure plates, quicksand, and caustic ground so movement remains available for her tail attacks.
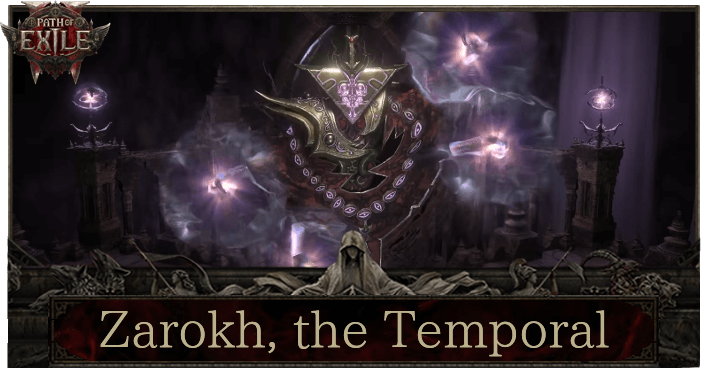
Floor 4: Zarokh, the Temporal
Zarokh is the fourth-floor pinnacle boss. During the time-freeze sequence, collect the hourglasses before time expires to avoid Honour damage and the slower secondary phase.
Unique Relic challenge runs
6
Reward: Sandstorm VisageThe Changing Seasons
Honour cannot be restored.
Reward: Sekhema's ResolveThe Burden of Leadership
Rooms are hidden on the Trial Map.
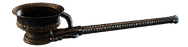
Reward: TemporalisThe Last Flame
Maximum Honour is 1, damage cannot be absorbed, and the trial must be level 80.
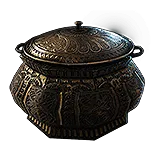
Reward: Blessed BondsThe Remembered Tales
Boons cannot be gained.
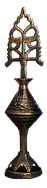
Reward: Against the DarknessThe Desperate Alliance
Zarokh deals 100% more damage and takes 75% less damage.
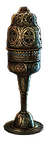
Reward: An additional Djinn BaryaThe Peacemaker's Draught
Defences are disabled during the challenge run.
Bosses and unique encounters
5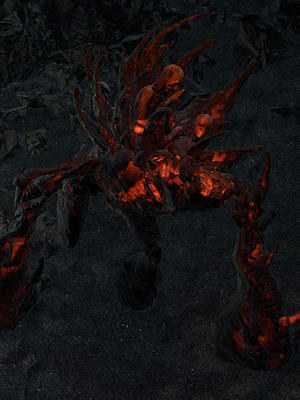
Connected areas
1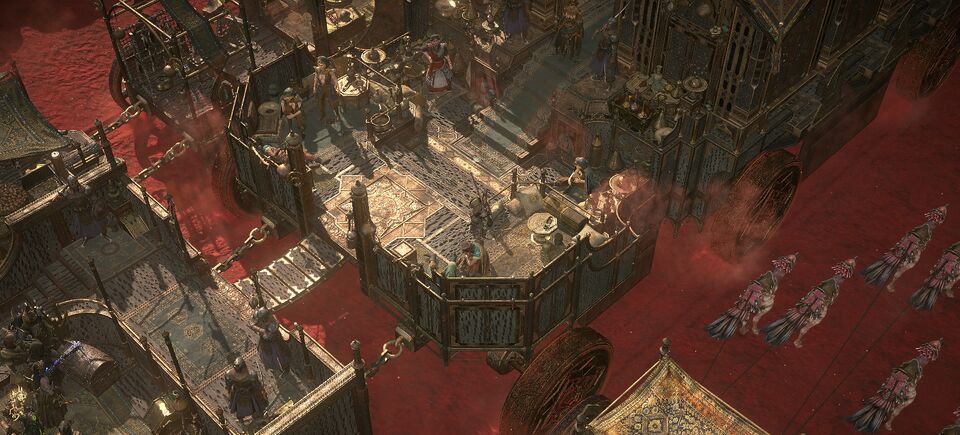
Quests
1NPCs found here
1Access and related items
5used at
Djinn Barya
Take this item to the Relic Altar at the Trial of the Sekhemas.
acquired fromTest of Cunning Barya
Test of Cunning Barya has restrictions on where or how it can drop. Obtained by completing the Test of Will floor in the Trial of the Sekhemas.
acquired from
Test of Strength Barya
Test of Strength Barya has restrictions on where or how it can drop. Obtained by completing the Test of Will floor in the Trial of the Sekhemas.
acquired fromTest of Time Barya
Test of Time Barya has restrictions on where or how it can drop. Obtained by completing the Test of Cunning floor in the Trial of the Sekhemas.
acquired from
Test of Will Barya
Test of Will Barya has restrictions on where or how it can drop. Obtained by completing the Test of Strength floor in the Trial of the Sekhemas.

Unique drops
5
Jewel
Grand Spectrum
Grand Spectrum has restrictions on where or how it can drop. Obtained from a "Gold Spectrum Cache" chest in the Trial of the Sekhemas.

Jewel
Grand Spectrum (Emerald)
Grand Spectrum (Emerald) has restrictions on where or how it can drop. Obtained from a "Gold Spectrum Cache" chest in the Trial of the Sekhemas.
Jewel
Grand Spectrum (Sapphire)
Grand Spectrum (Sapphire) has restrictions on where or how it can drop. Obtained from a "Gold Spectrum Cache" chest in the Trial of the Sekhemas.

Helmets
Sandstorm Visage
Sandstorm Visage has restrictions on where or how it can drop. Drops from Zarokh, the Eternal when completing a Trial of the Sekhemas run using The Changing Seasons.
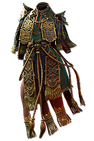
Body Armours
Temporalis
Temporalis has restrictions on where or how it can drop. Drops from Zarokh, the Temporal when completing a Level 80+ Trial of the Sekhemas run using The Last Flame.
Currency and material acquisition
3
currency
Bronze Key
Obtained after completing certain rooms in the Trial of the Sekhemas, by converting Sacred Water, or infrequently from monsters or chests in Trial areas.

currency
Gold Key
Obtained after completing certain rooms in the Trial of the Sekhemas or by converting Sacred Water.

currency
Silver Key
Obtained after completing certain rooms in the Trial of the Sekhemas, by converting Sacred Water, or infrequently from monsters or chests in Trial areas.
Guides using this page
2AscendancyTrial of the Sekhemas guide
Enter with a Barya, protect Honour, choose a route through each floor, use Relics and Sacred Water, defeat the scheduled boss, and claim the eligible Ascendancy reward.
ItemsUnique Relic challenge runs
Choose a Zarokh reward, check the matching Unique Relic restriction, prepare the altar and Barya, then complete a four-floor Trial of the Sekhemas.